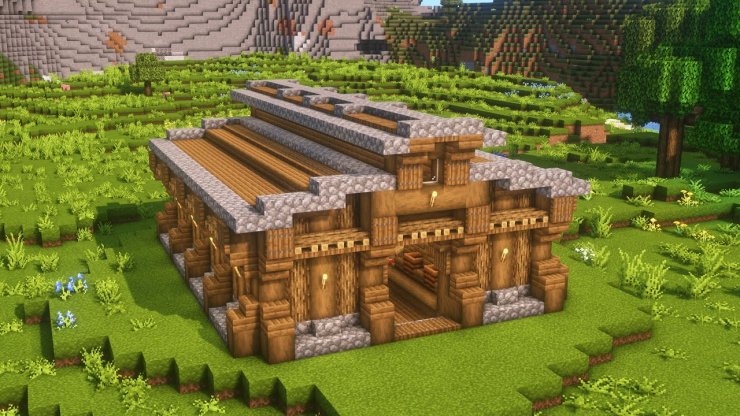
In Minecraft, players need to collect items through exploration, which can be pretty challenging. But what if players could get what they need without embarking on extensive journeys? That's where a villager trading hall comes in handy. It's like having a shop in Minecraft where you can swap items with villagers and make your gaming life simpler. Let's find out how to make a villager trading hall and more in this article by Gurugamer.com.
How does a Villager Trading Hall in Minecraft work?
To make sure you grasp how to use your villager trading hall in Minecraft effectively, we'll begin by giving you a summary of the fundamental concepts of trading with villagers.
As we have just mentioned, the primary method of resource acquisition in the game is through exploration. However, there exists an alternative means of obtaining items, which involves engaging in trade with villagers. When you approach certain friendly creatures, they will propose trade offers. You can either offer them items in exchange for their goods or use emeralds, which serve as the in-game currency, to make purchases from them.
Similarly to real life, the trades in Minecraft can vary. Some villagers might ask for a high price for something, while others might give you a better deal for the same item. Also, your actions in the game can influence how much villagers charge for their items or how much they're willing to pay for yours. Here are the various types of villagers you'll encounter in Minecraft.
Types of Villagers in Minecraft
When we talk about different types of villagers in Minecraft, we're not considering the ones you find in different villages as even though they may not look the same, their differences are only skin deep. Instead, we're focusing on villagers with various jobs. Each job gives them the ability to offer unique trade deals to players. Some of these deals are good, while others are not so great.
In Minecraft world, villagers can have the following jobs:
- Armorer
- Butcher
- Cartographer
- Cleric
- Farmer
- Fisherman
- Fletcher
- Leatherworker
- Librarian
- Mason
- Shepherd
- Toolsmith
- Weaponsmith
- Wandering Trader (This one isn't a villager job, but they offer similar trades.)
How to Breed Villagers in Minecraft
As you probably guessed, you'll need quite a few villagers to make your Minecraft villager trading hall work well. To get them, you have two options: either find and bring villagers from existing villages, or you can create new villagers by having two of them make babies in the game. If you want to go with the breeding method, all you have to do is feed bread, carrots, potatoes, or beetroots to the villagers inside a closed area with beds.
If you have plenty of resources, you can create a special place just for breeding villagers. This can be a useful backup plan for your trading hall in case you lose a villager to hostile mobs. As you'll learn later, sometimes you might need to replace villagers to get better trade deals. So, having extra villagers on hand is always a good idea.
Watch this video for a full guide on how to breed villagers in Minecraft:
How to Change a Villager's Profession in Minecraft
Each villager's occupation is tied to specific job site blocks. These are functional blocks that are somehow related to a task connected to a particular villager job. For example, a composter is a block you can use to make bone meal (a type of fertilizer) in Minecraft, and it also serves as the job site block for farmer villagers.
That's right! If you break the composter that a farmer villager is using, that villager will lose their job. After that, they'll wander around without any purpose until they find another job site block. This mechanic allows you to change a villager's job in the game. You can do this by breaking or replacing the job site block associated with their current occupation.
To create a villager trading hall in Minecraft, you'll need these items:
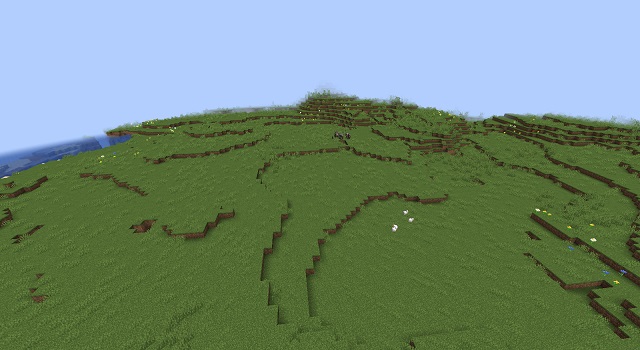
- An open area (preferably 15 blocks wide and long)
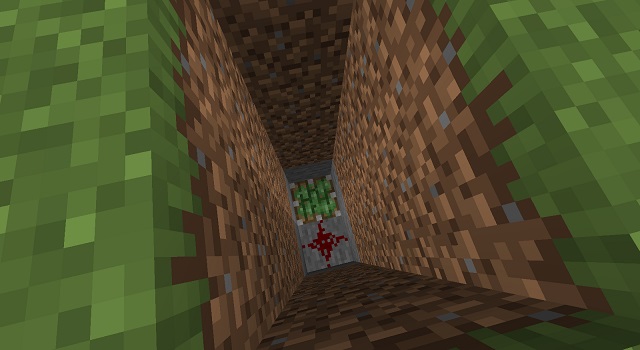
- 5 Sticky Pistons
- 5 Redstone Dust
- 5 Villagers
- 5 Job Site Blocks
- 4 Deepslate Brick Stairs (optional)
- 7 Dark Oak Trapdoors
- 10 Polished Deepslate Slabs
- 27 Deepslate Tile Slabs
- 5 Levers
- 3 Ladders
- 18 White Carpets (optional)
- 5 Item Frames (optional)
- 2 Chests
- 1 Zombie
- 5 Splash Potions of Weakness
- 5 Golden Apples
Keep in mind that you can use any wood type for the building blocks like stairs and slabs. If you want to customize the design to your liking, feel free to do so. The list provided is for a basic trading hall, but you can make aesthetic changes as you see fit.
How to make a Villager Trading Hall in Minecraft
To make things simpler to understand, our tutorial is divided into separate sections, each focusing on one aspect of the trading hall. Just be sure to follow them in the order they're presented to build your trading hall successfully.
>>> Read more: 5 Most Useful Villager Jobs In Minecraft 1.19
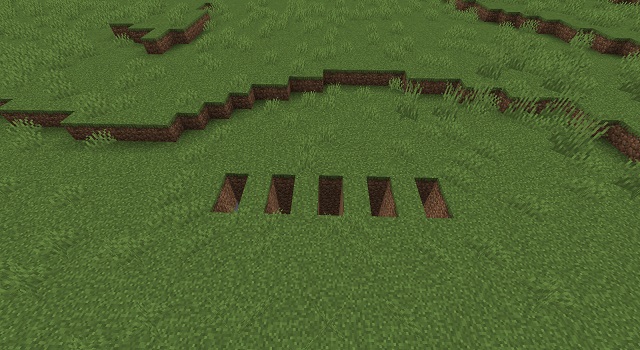
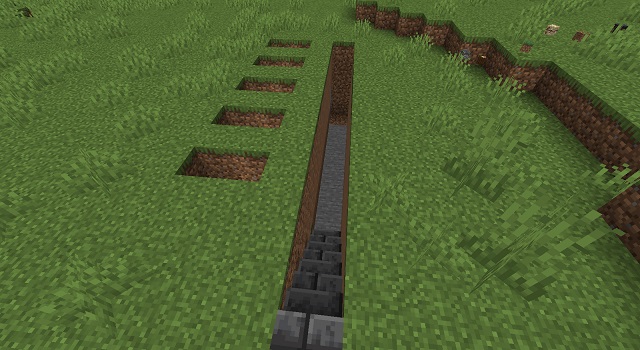
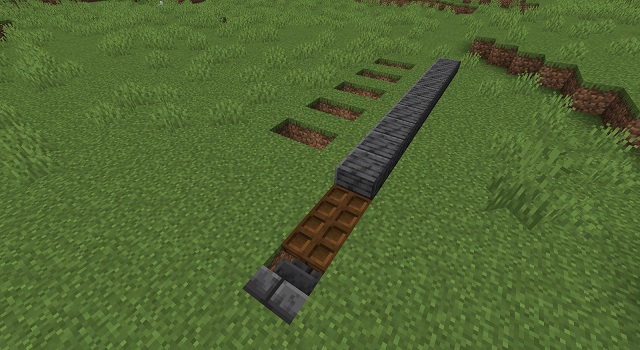
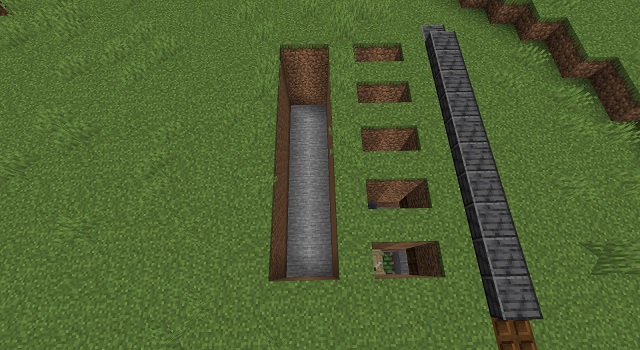
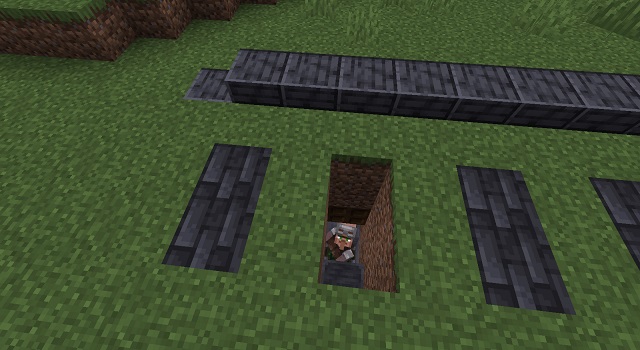
Villager Area
Let's start by creating safe trading areas for the villagers in your trading hall. Follow these steps:
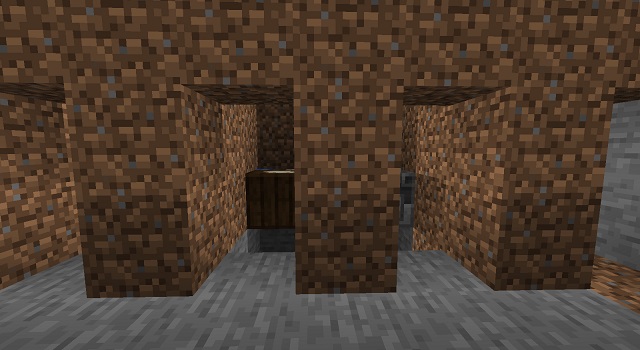
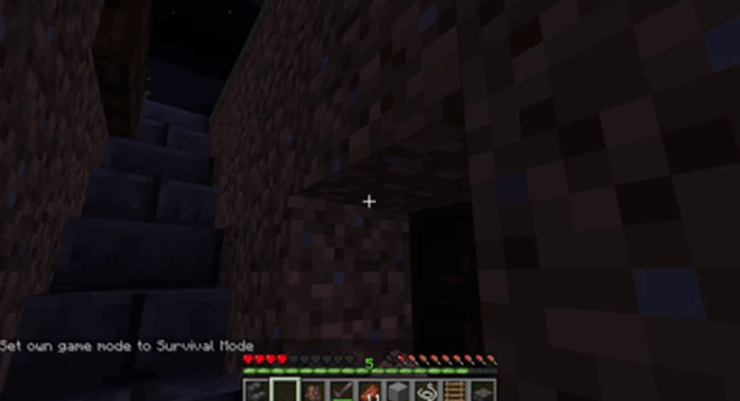
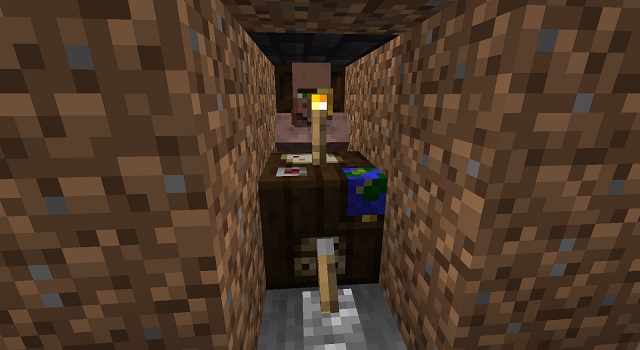
Zombification Area
Players can use zombies to improve their trade deals with villagers. However, to do this, players will need to create a secure and manageable area for zombification. Here's the way to set it up:
>>> Top 5 Minecraft Pets In Minecraft 2023
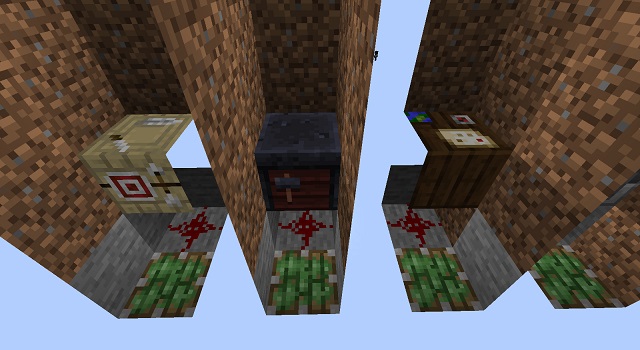
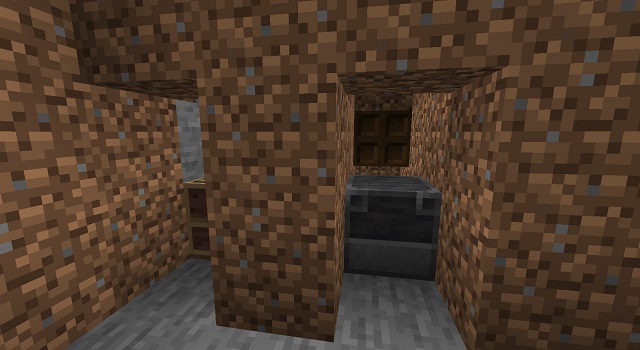
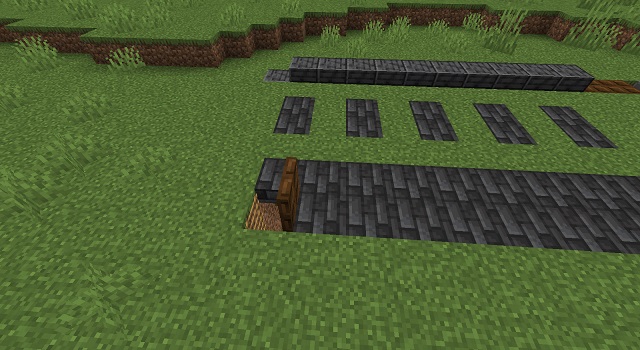
Trading Hall
Now that the zombie area is prepared, you can follow the steps below to make the main villager trading hall in Minecraft:

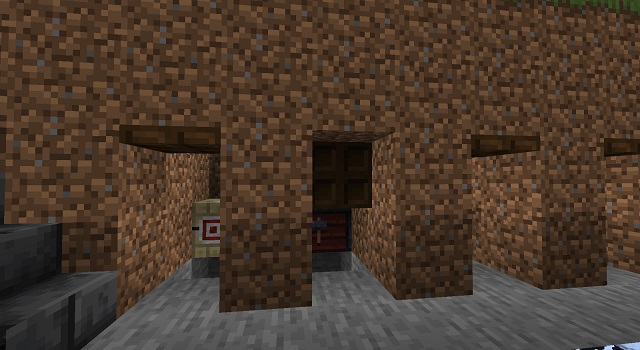
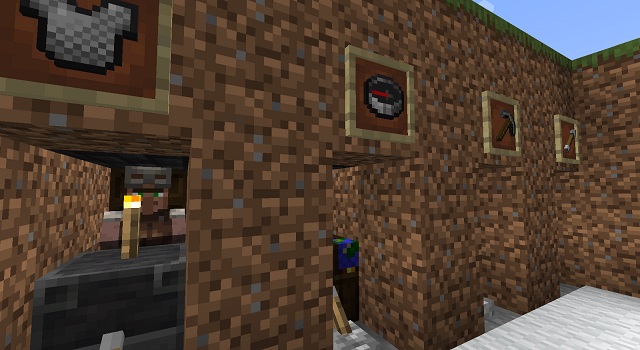
How to decorate the Trading Hall
Now that you have the basic functionality in place, it's time to enhance the main trading area. Follow these steps to decorate the trading hall and make it more functional:
Additional Tips on how to make a Villager Trading Hall
Congratulations on creating your own Minecraft villager trading hall! To make the most of it, here are some additional tips for better villager trading:
- Hero of the Village: If you successfully defend a village from a pillager raid and protect the villagers, you'll receive the "Hero of the Village" effect. This effect significantly improves your trade deals. Nevertheless, we recommend closing off your trading hall entirely before starting a raid to avoid any harm to your villagers.
- Nitwits: In Minecraft, there are nitwit villagers who cannot take on any jobs. If you come across one of these villagers, it's best to remove them from your trading hall as they won't contribute to your trades.
- Villages: To make it easier to gather resources and villagers, consider building your trading hall near a village. Yet, be sure to break all job site blocks in the village to maintain control over your villagers. You can also use specific Minecraft village seeds to save time and find suitable locations.
- Wandering Trader: For even more trading options, keep an eye out for wandering traders. When one spawns, you can trap it in one of your trading hall chambers. Wandering traders appear near the player at random intervals.
These tips should help you make the most of your villager trading hall and enhance your Minecraft gameplay experience.
>> Also check out:


Comments